Tony’s 1990 Mustang
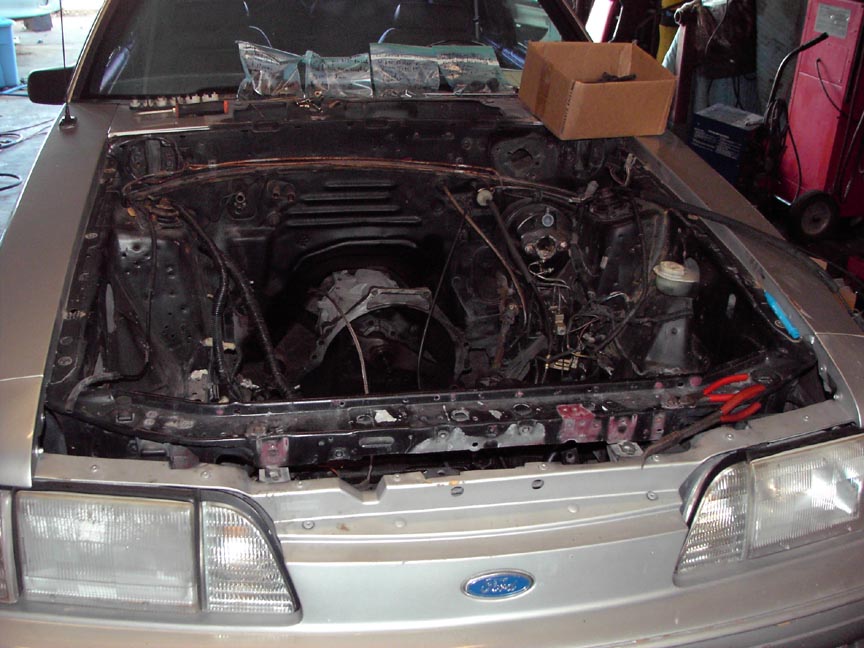
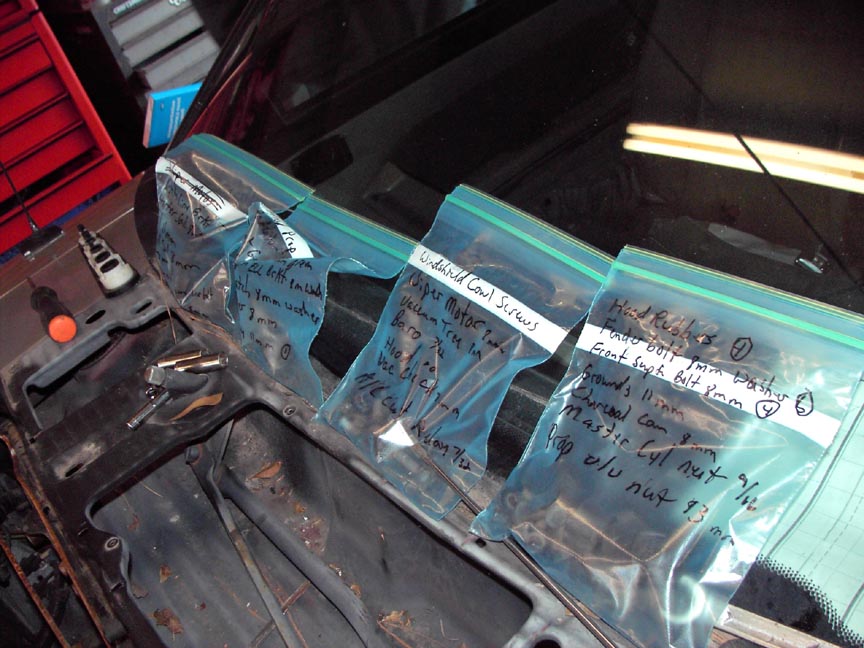
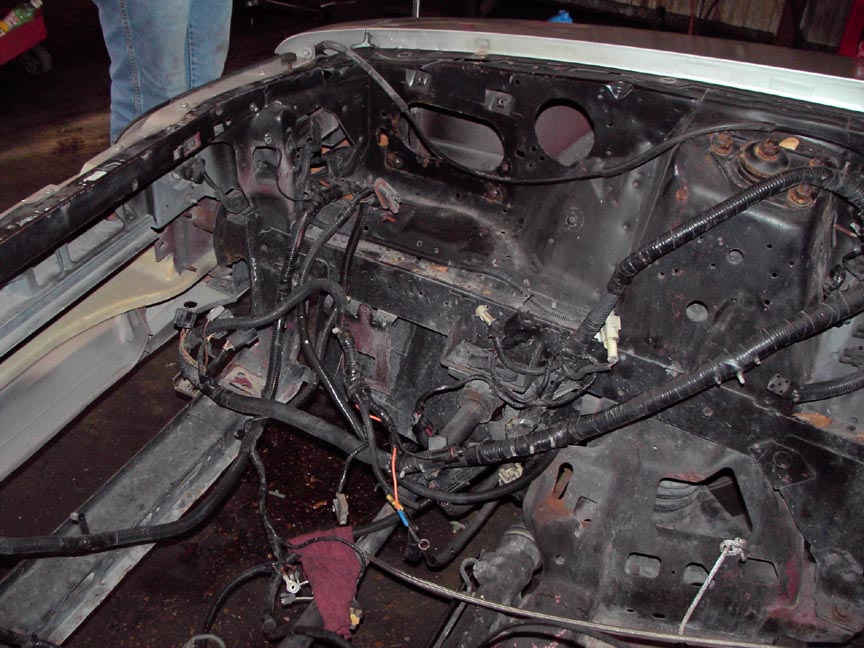
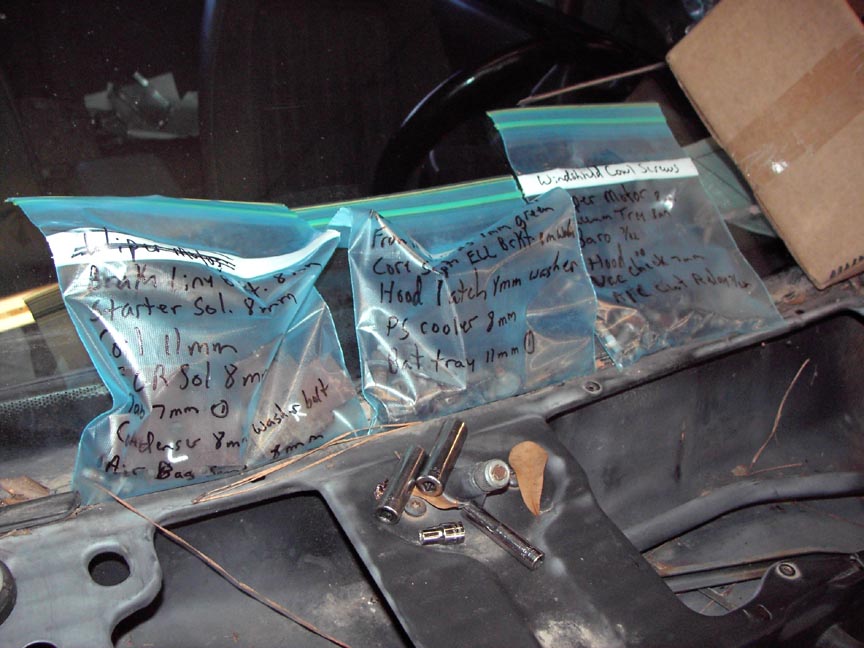
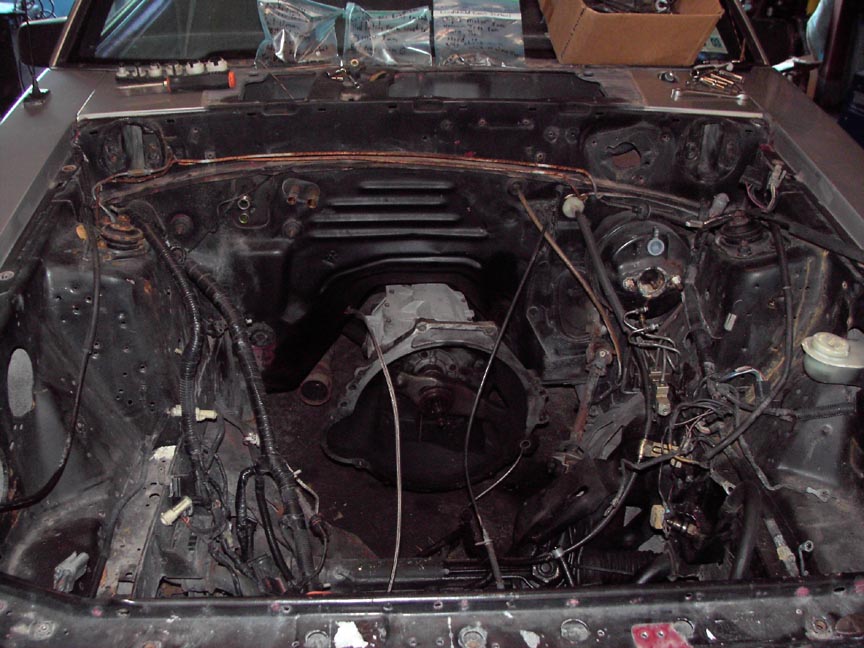
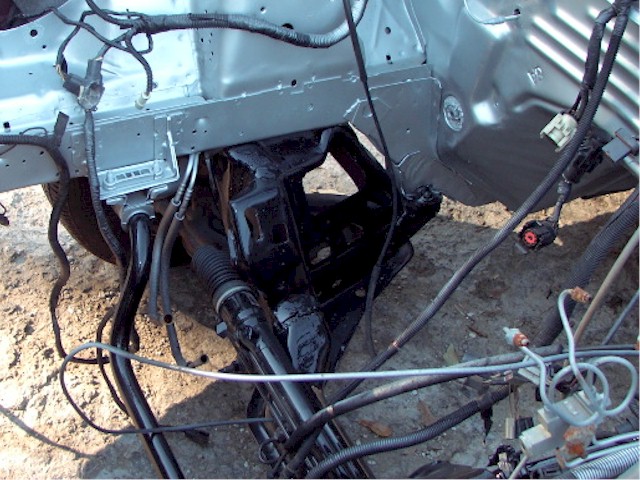
The following are a few shots of my 1990 Ford Mustang that I’m working on in the evenings and weekends. First the engine was removed and torn down, then I removed everything from the firewall and fenders to prepare for painting….stay tuned as things progress.

Rebuilding the motor was next so it could handle a little boost!
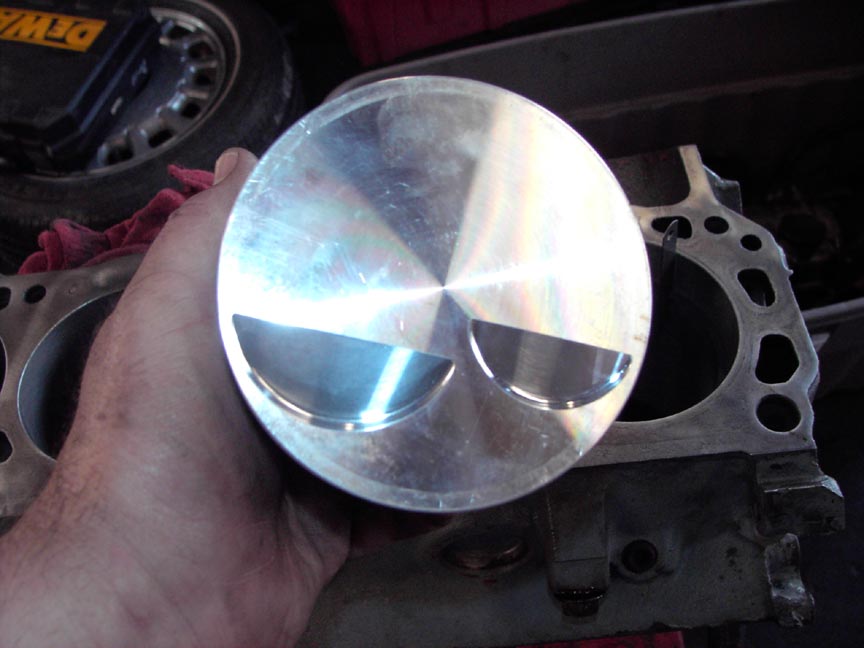
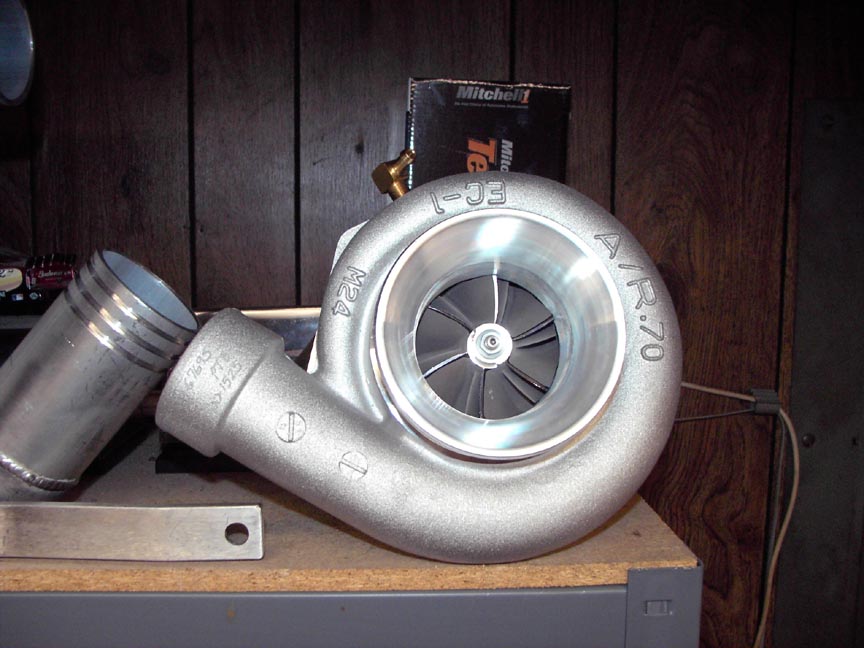
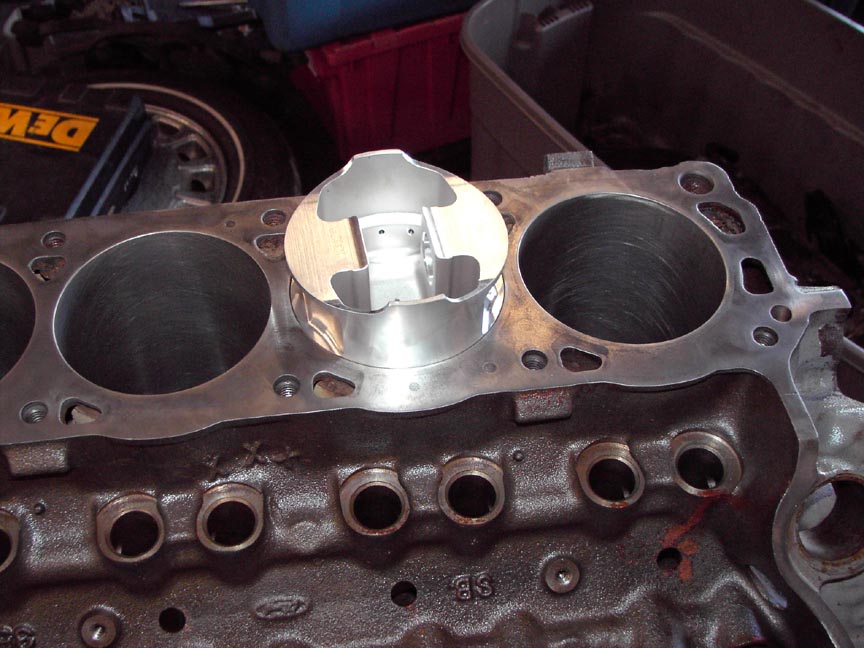
The Ross custom built pistons that can handle up to 20 psi boost. I’ll be using this 67mm turbo.
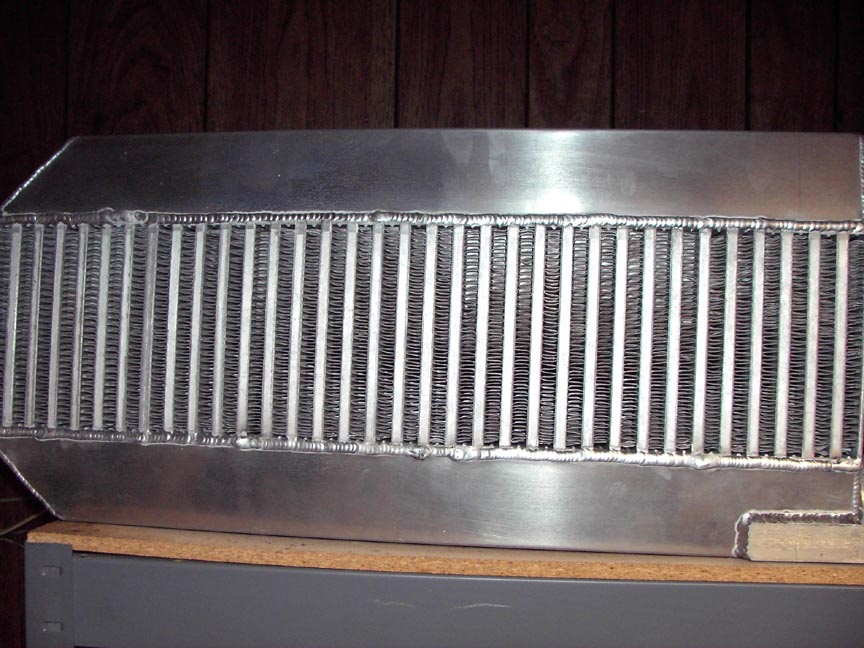
And this intercooler
Gapping the rings….Setting the ring gap……Once the engine is together it is pretty much set in stone…all the specs in an engine are set for a specific purpose…things are done one way for normally aspirated, another way for turbo or superchargers, and yet another way for nitrous oxide…once the engine is assembled you have to pretty much stick to the original plan…I know how I am….I will at some point decide to up the boost a considerable amount more than what I decided on, so I have to make sure the engine is set up to handle whatever I throw at it, this is why such a large ring gap…better to live with a little blow-by now than to butt a ring together later on! I am going to be limiting this setup to 500-550 horsepower for the time being. The reason is the stock 5.0 Ford block will start to pull the main webbing apart or split in the intake valley at these levels. As soon as the engine is set up in the car and all the transmission and suspension is done and the engine is tuned, and all the gremlins worked out, I will take all this apart and reinstall it all into a Dart block. At that point I’ll be good for 700-780 horsepower which will be about all I can do without a turbo and intercooler upgrade.
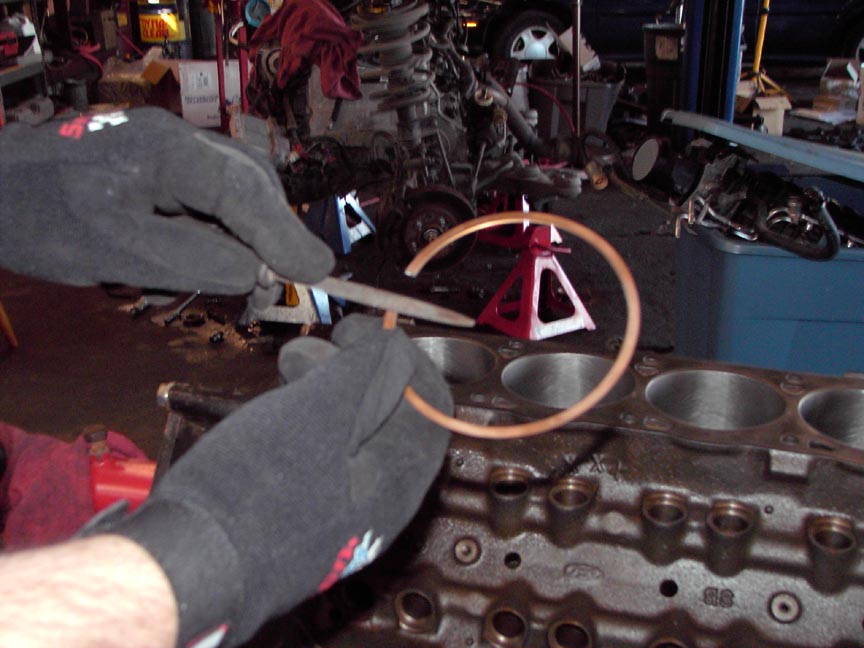
After filing the rings make sure you de-bur the ends….file only towards the inside….I’m using a file but a whetstone is the actual method preferred.
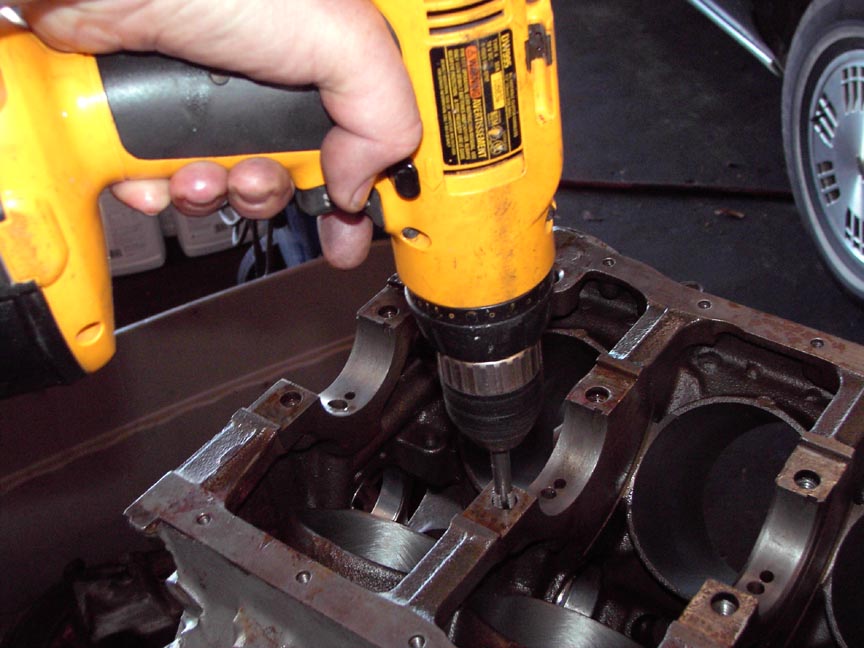
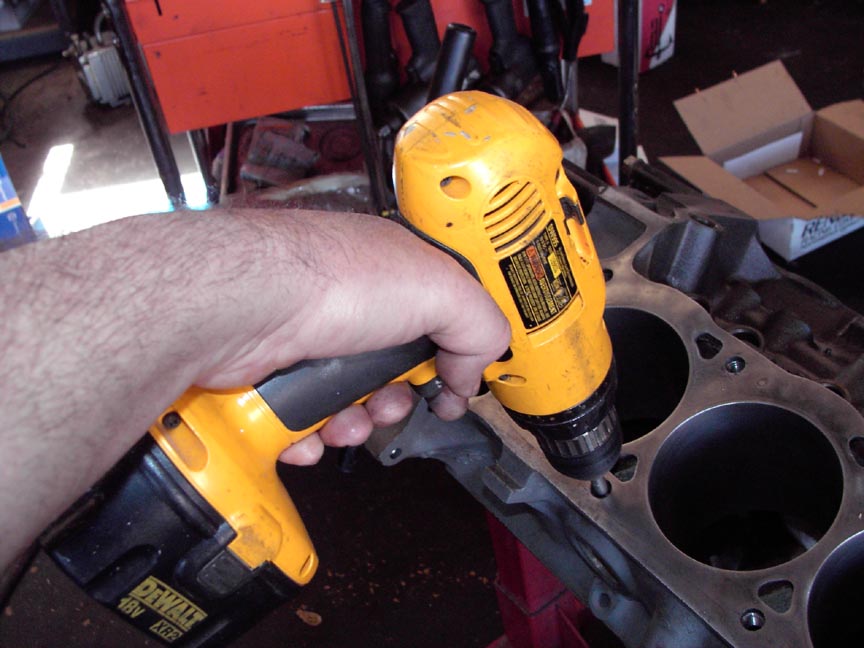
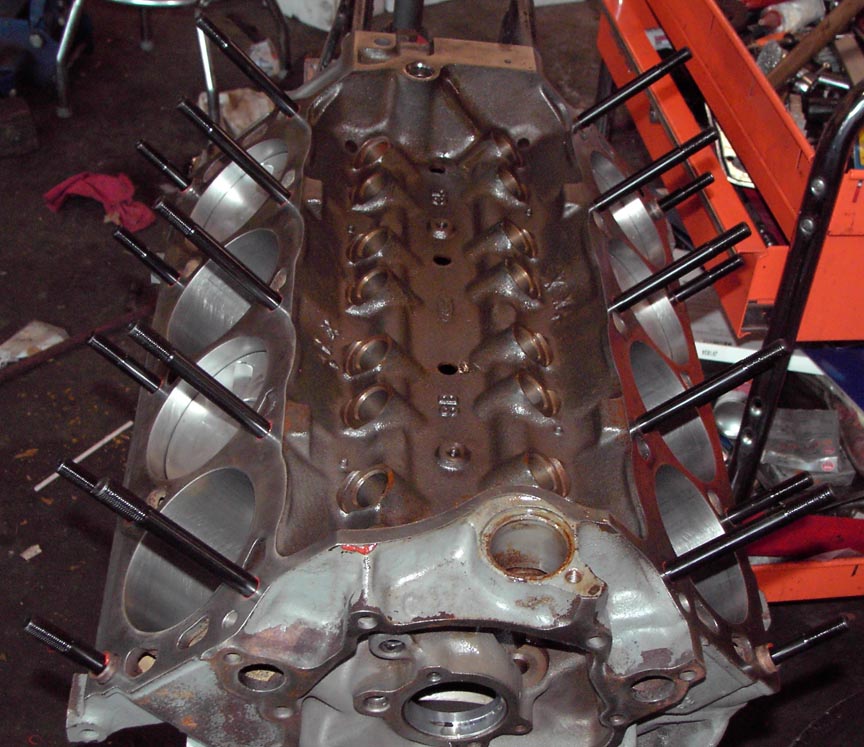
Here I am tapping all the main bearing cap and head bolt holes with a bottom tap to make sure all threads are clean…I’m using the tap in a drill to speed thing up a bit, but Do NOT attempt this unless you have done it hundreds of times by hand first…If you don’t have a lot of experience with this, it is VERY easy to break off the tap in the block or ruin the threads!
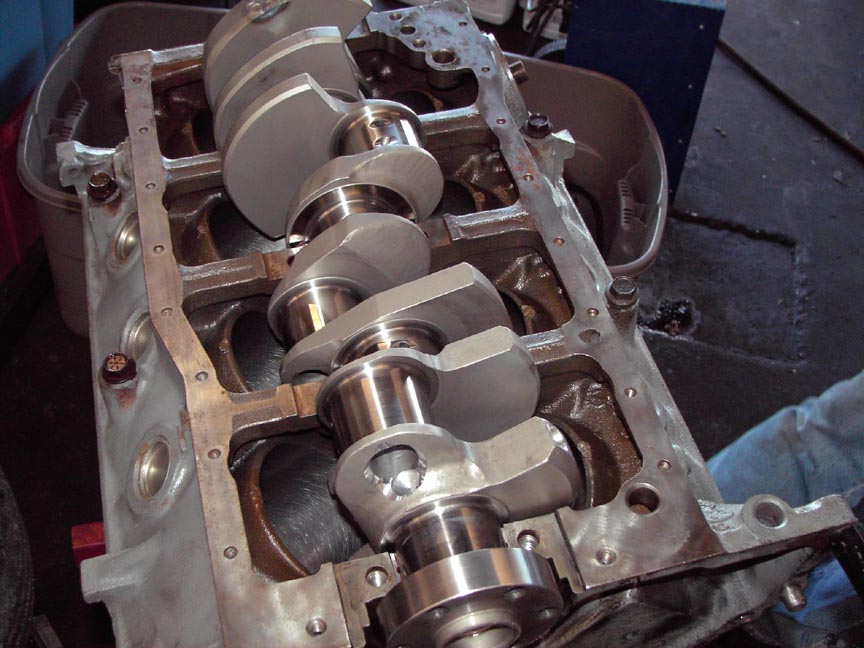

In goes the Eagle forged crank… I had this crank internally balanced….
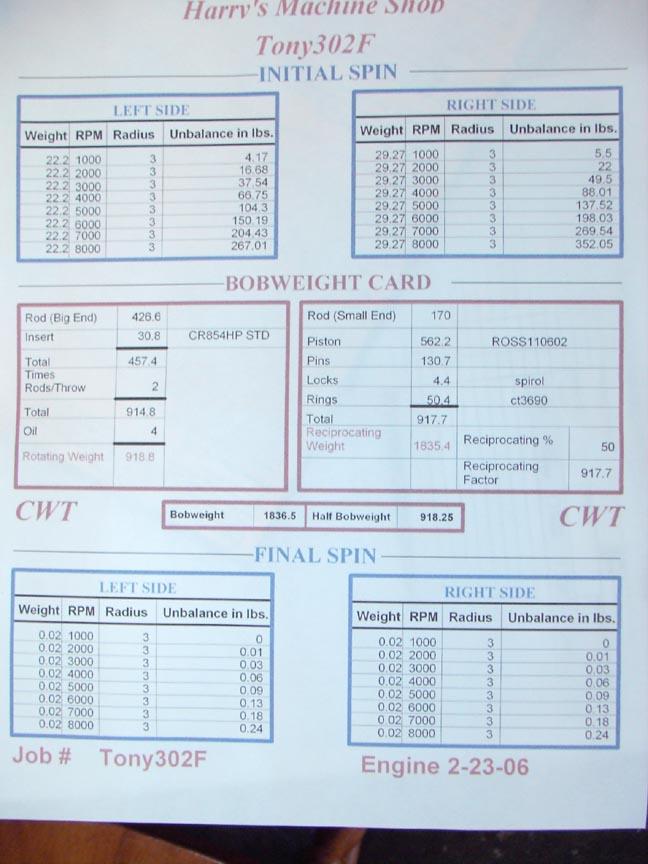
You should get a balance sheet like this when you have an engine balanced

Here is the thrust bearing…I checked the crankshaft end-play and it was about .001-.002, nowhere NEAR enough…this is below factory spec, so it would surely result in disaster for a high winding turbo motor. Here I have zip-strapped the two halves together in the position they are in when installed…
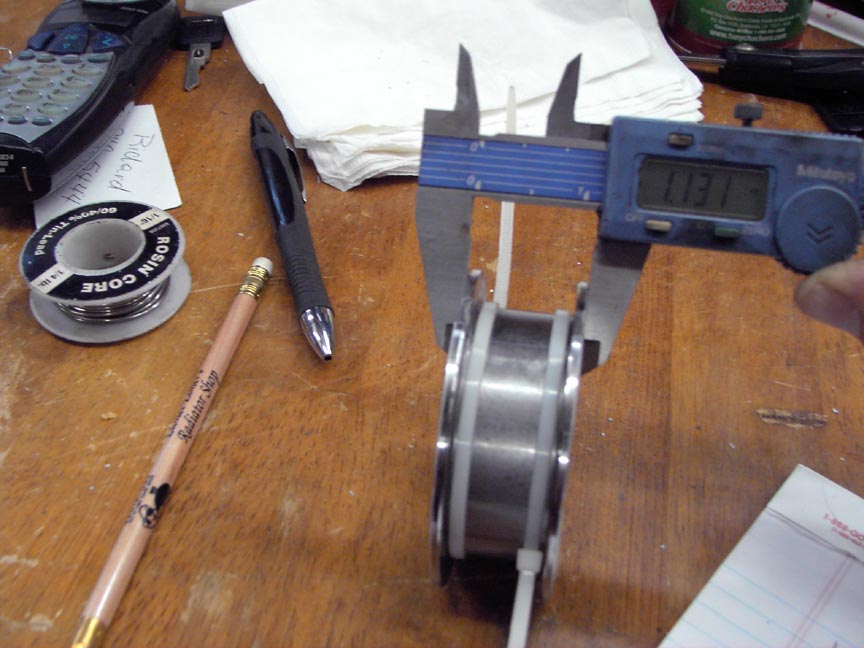
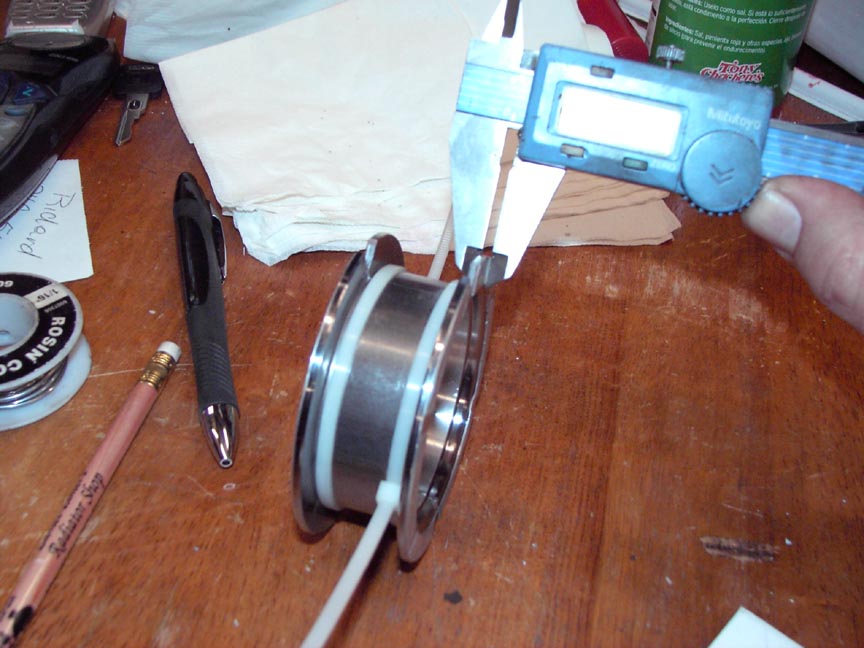
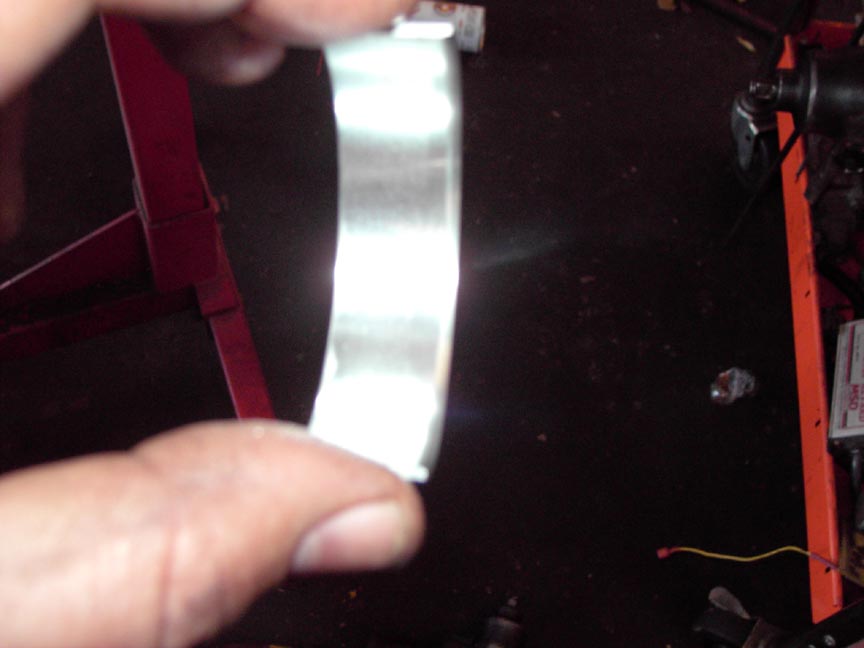
Then I measure the bearing in several spots to get an average width…as well as the sides.
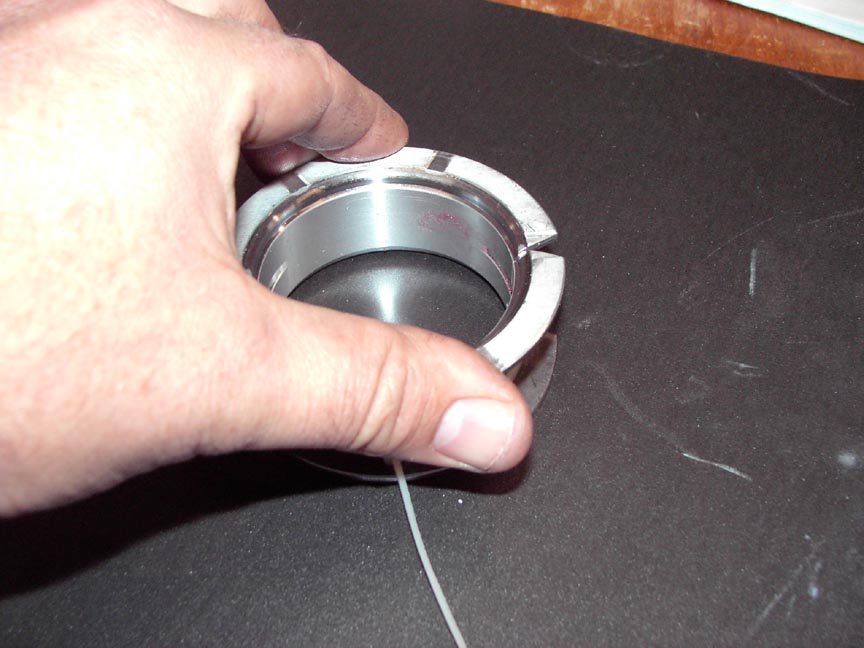
Then take off EQUAL AMOUNTS from each side…Periodically measure overall thickness to get it down to the thickness you want to give you the desired end-play…Make sure you measure the individual thickness of EACH SIDE as well so you take off the same amount from each!
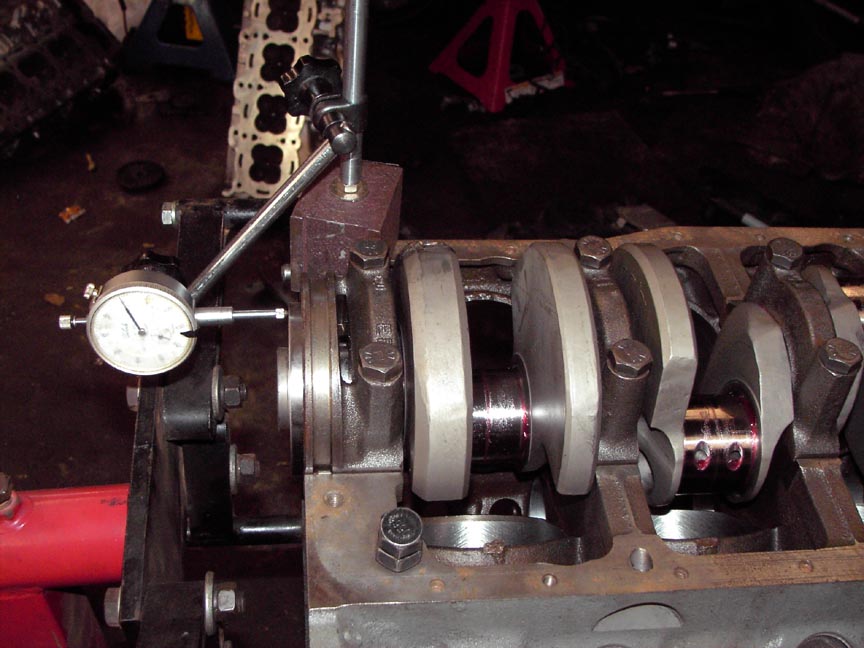
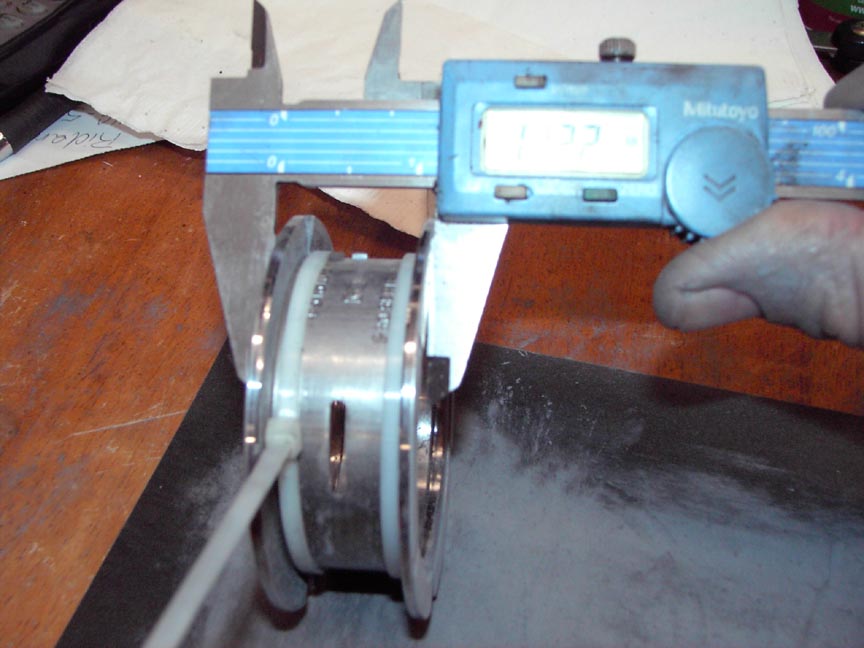
Then reinstall the crank and check the end-play again…Now I’ve got exactly what I wanted. Crankshaft end-play is probably one of the MOST OVERLOOKED specs there is in engine assembly. Years ago, before custom aftermarket crankshafts were affordable like they are now, a really common combo was to machine down the main journals on a 400 crankshaft and put it into a 350 block giving you a 383 cubic inch engine with a .030 overbore….This combination had the reputation of being a “thrust-killer”…Many guys would begin having problems in just a couple thousand miles or less in some cases…They would pull the engine apart and the thrust surface on the crank and the thrust bearing would be trashed….So the reputation started…..The REAL STORY is that most of these home garage engine building guys had no clue what “checking end-play” MEANT, let alone know HOW to CHECK IT, and these engines were being put together with little or NO end-play….THAT is what was REALLY “killing the thrust”. Another possibility is a balance or should I say out of balance issue, that can kill a thrust as well and it is safe to say none of these guys were getting these engines balanced!


Here are the connecting rods… I use H-beams rods.
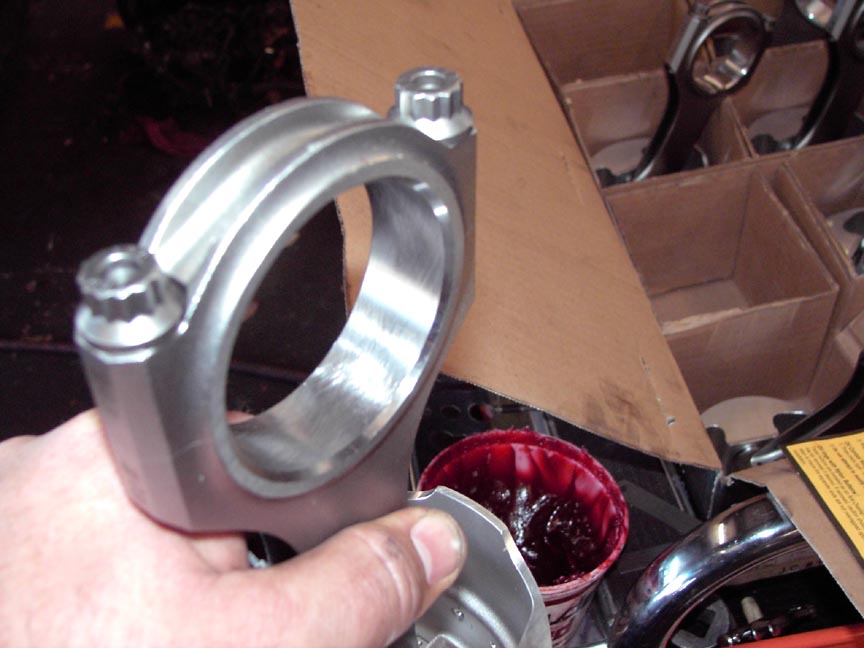
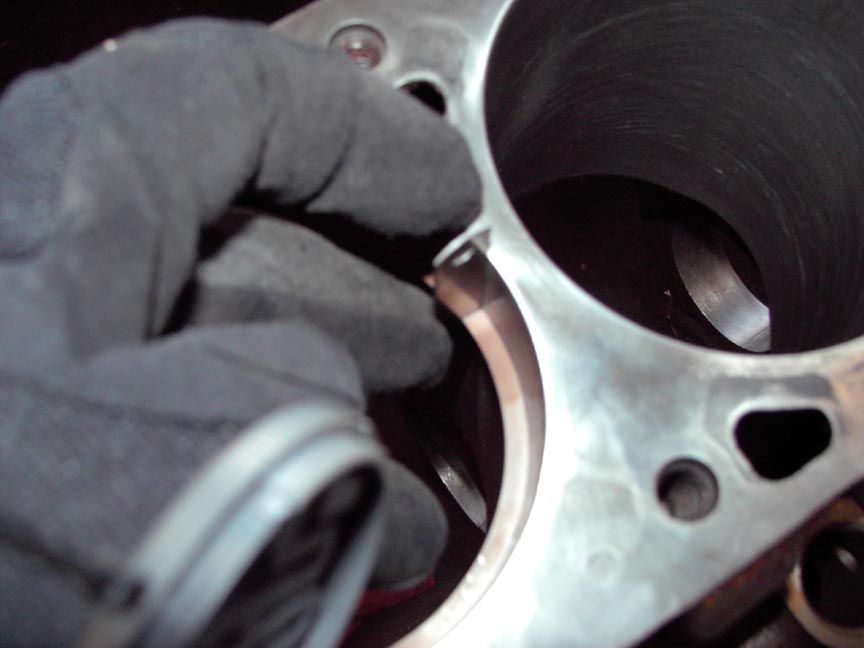
You probably can’t see this, but these rod bearings must be chamfered to clear the radius on the Eagle forged crank…Unlike a stock engine these bearings have an upper and lower designation and great care must be taken to make sure they are installed facing the correct direction. In the second picture you can see the chamfer on the rod…the rods MUST be installed on the pistons in such a way that the chamfer is facing the radius on the crankshaft AND the chamfer on the bearing AND the piston facing the correct direction in the block all at the same time….I’ve seen so many guys screw this all up and turn a bunch of decent parts into a pile of useless scrap in only 4 or 5 quarter mile passes or less! And guess WHAT? Yup, they had EVERY excuse in the book why it scattered the motor…..even though THEY assembled it!
This is probably the best thing ever invented…It is a tapered sleeve used for piston installation…It compresses the rings as the piston is installed making it an all one motion process…
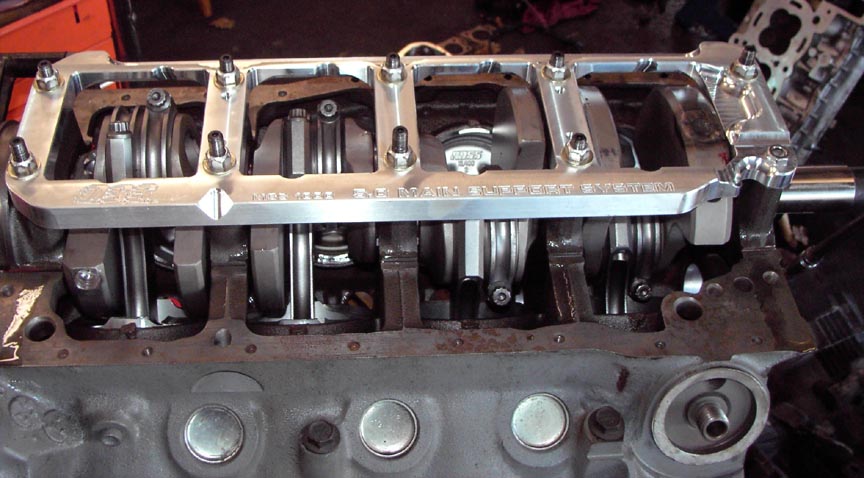

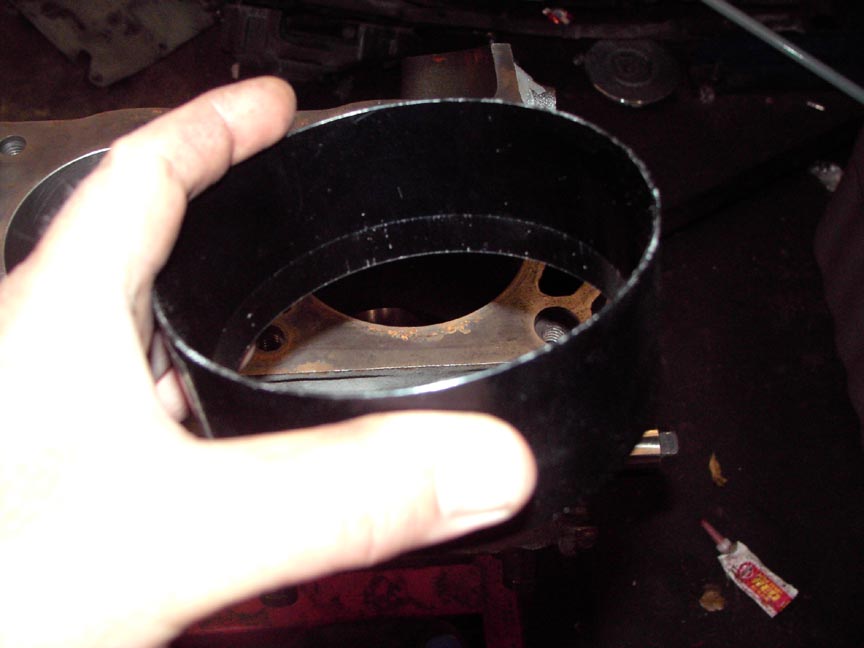
Here all the pistons are installed and the main support girdle is going on…ARP main studs were used…These main girdles will not really make these weak 5.0 blocks any STRONGER, BUT hopefully if there IS a block failure the girdle will hold everything together so no parts get scattered on the racetrack. It ain’t no fun slinging parts out of the bottom of an engine and then driving through your own oil. Then the windage tray goes on…
I used ARP studs for the cylinder heads as well…
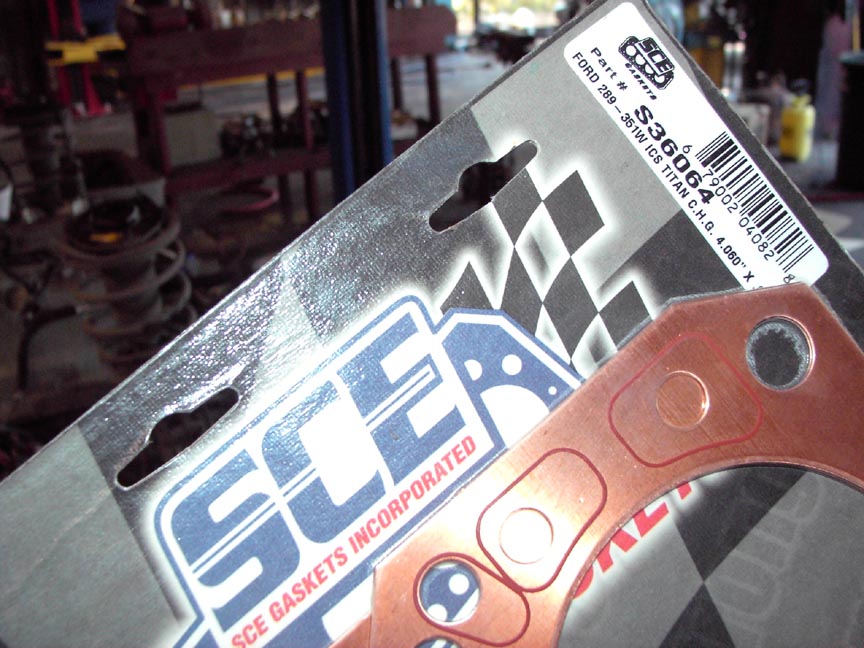
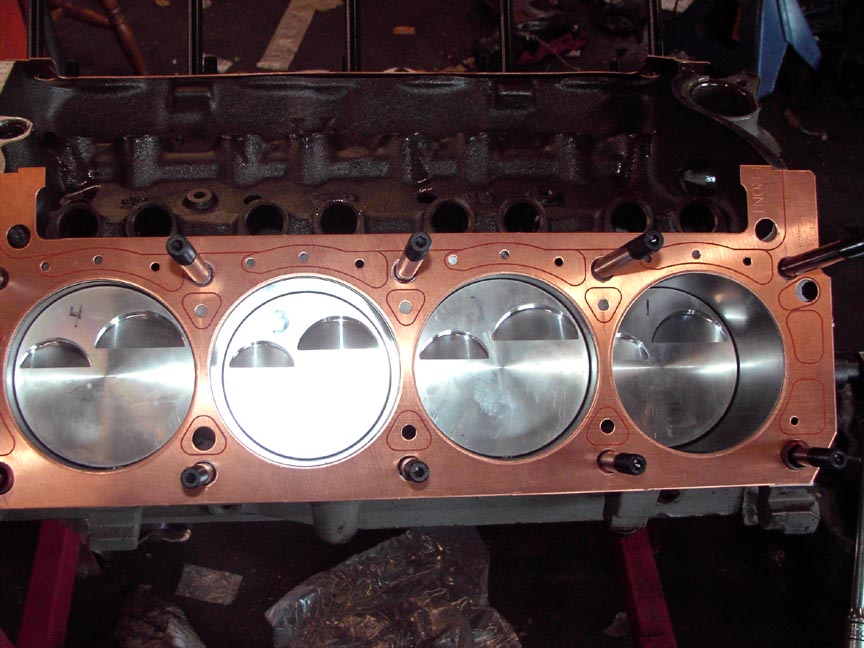
These SCE head gaskets are supposed to be the ticket for heavily boosted engines….supposedly better than grooving and o-ringing…..I hope they are right! Picture 2 shows the SCE gaskets in place…

Then on go the Twisted Wedge heads….I’m just re-using these, I’ve been running them on the car for about 4-5 years….just had them freshened up….
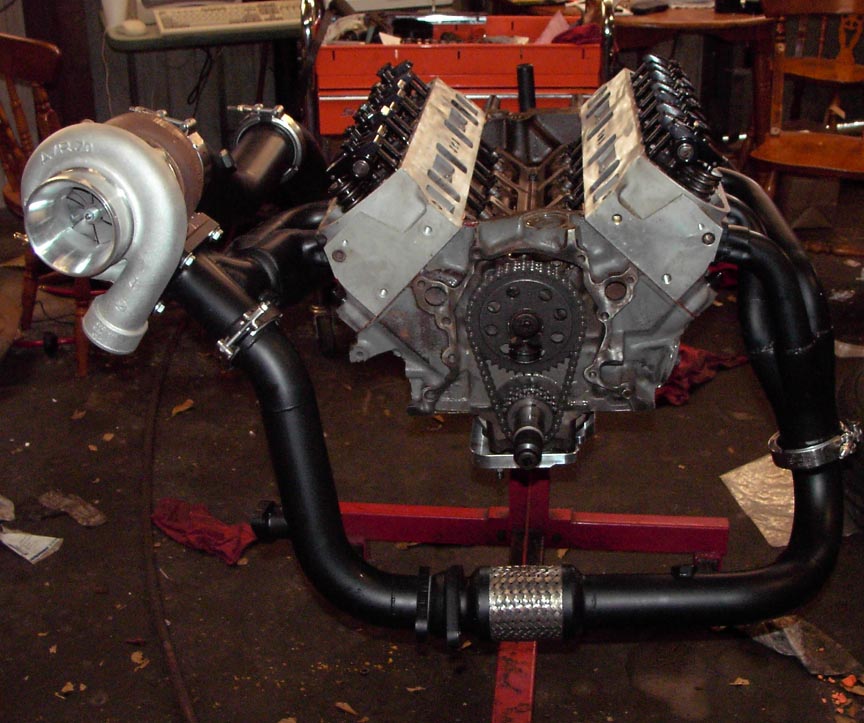
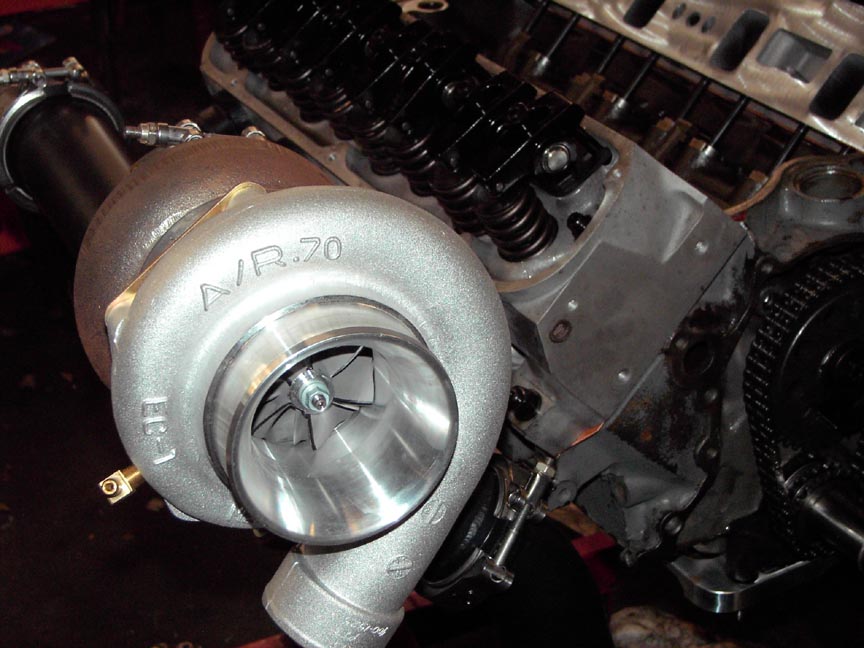
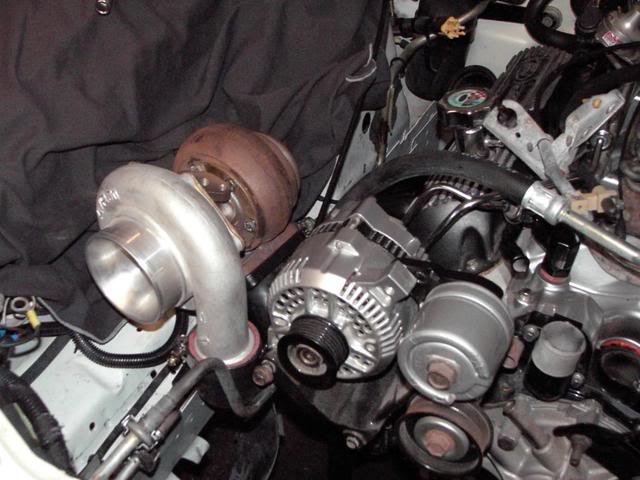
Here I have just trial fitted the turbo and exhaust plumbing… Close up of the turbo…


Left and right sides of the motor…

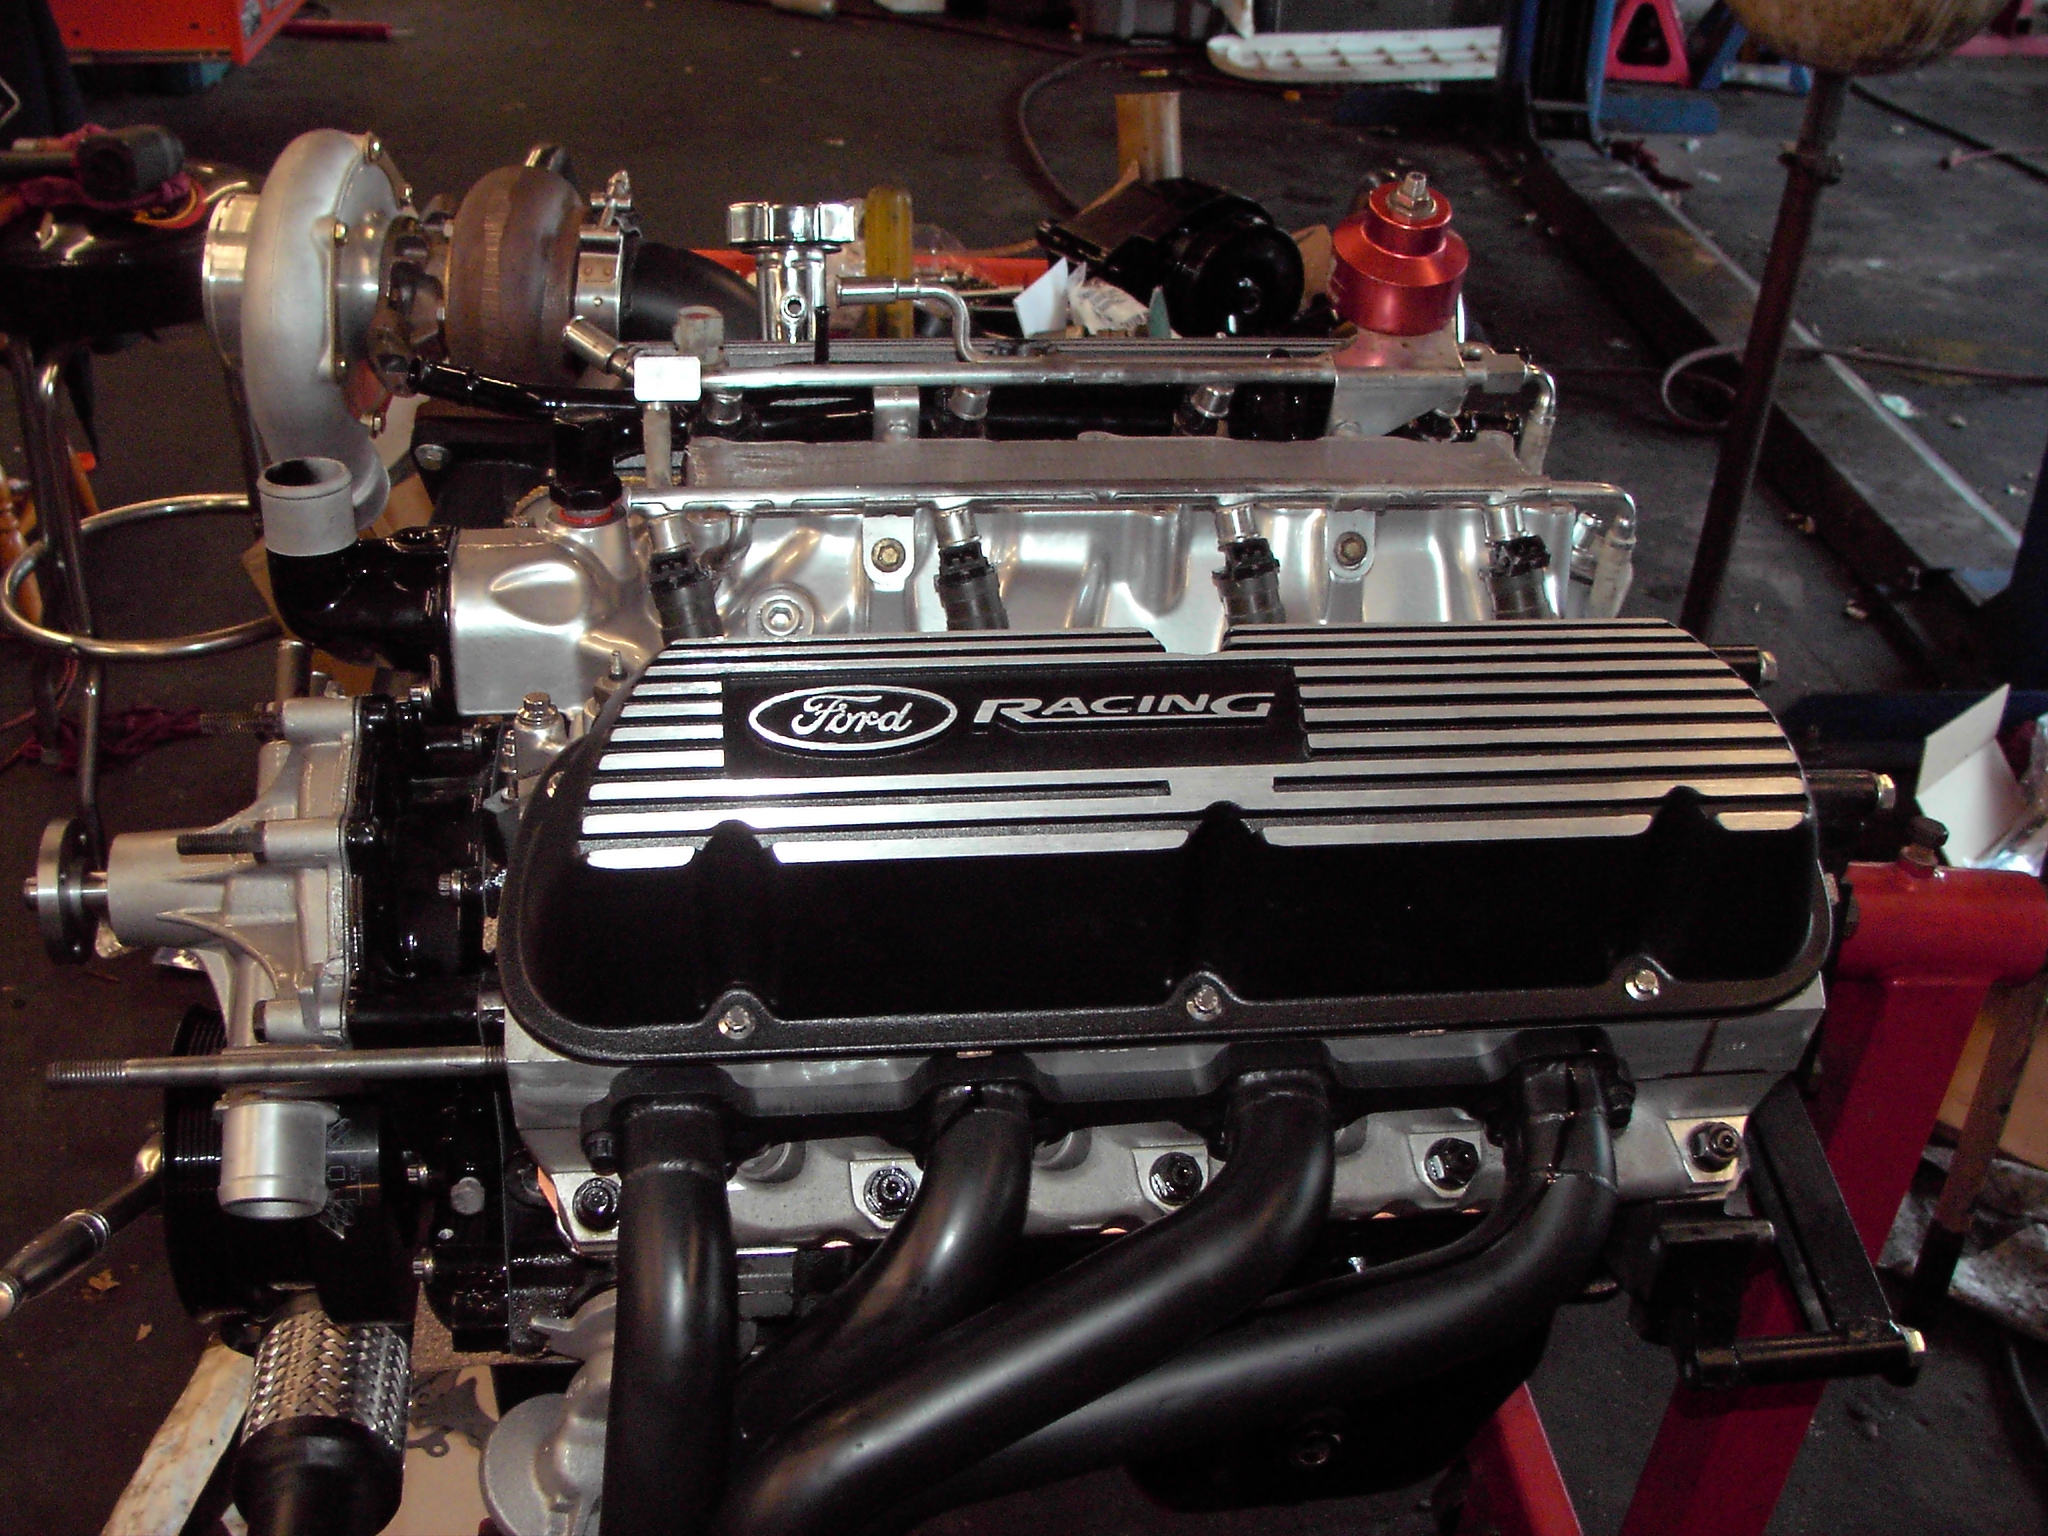
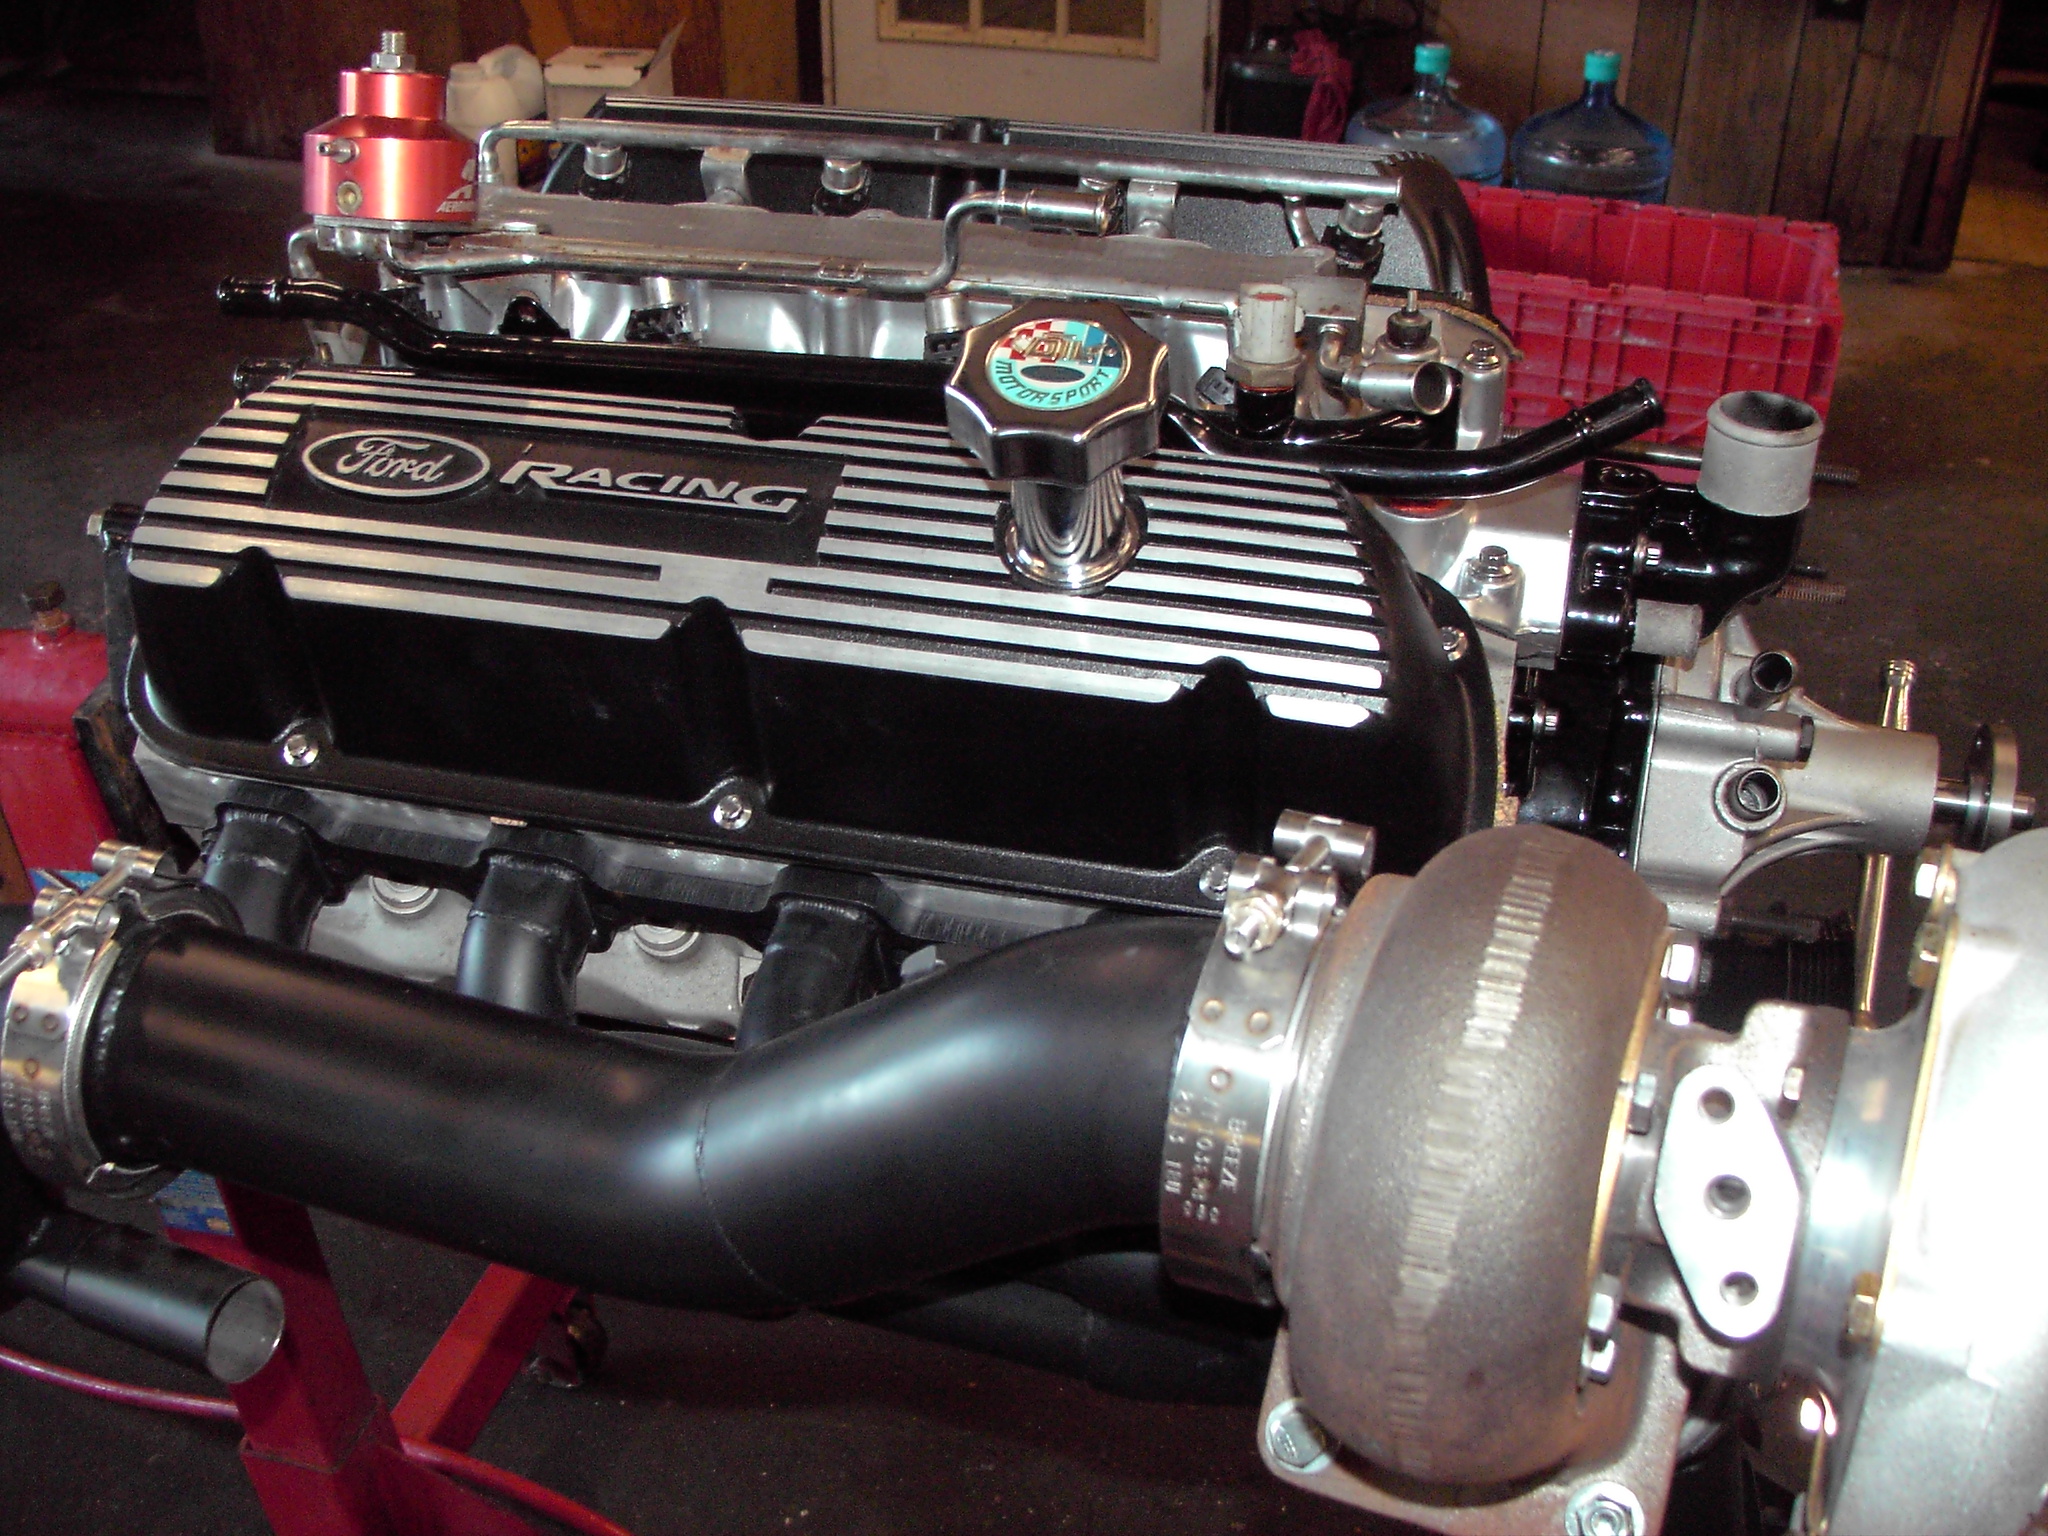
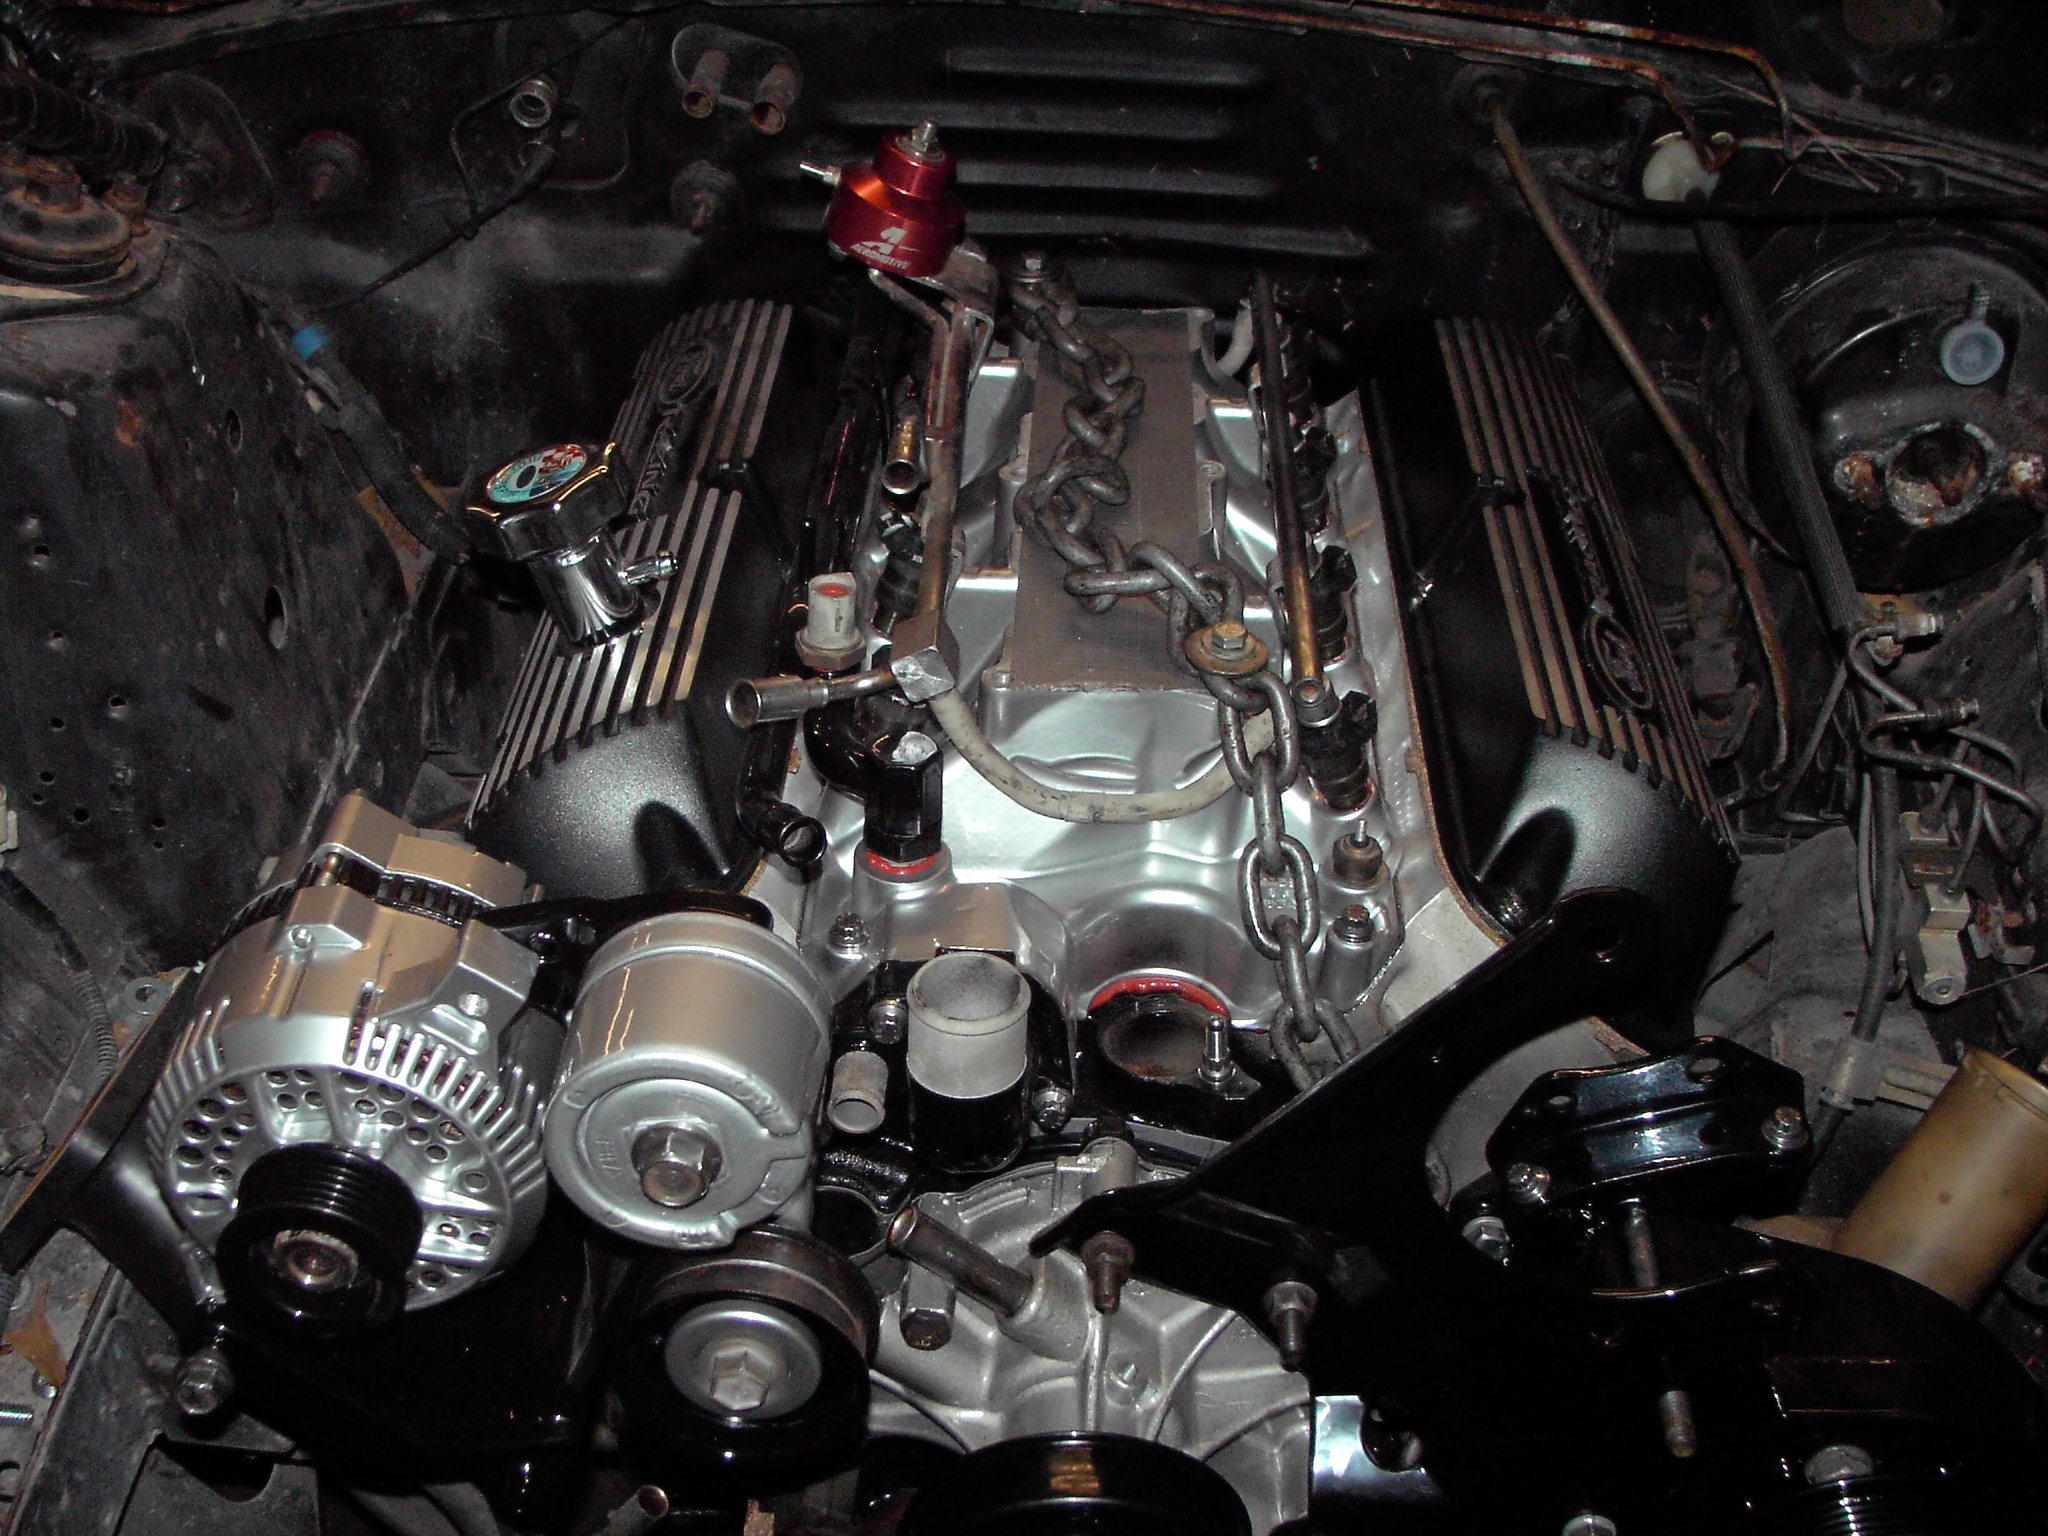
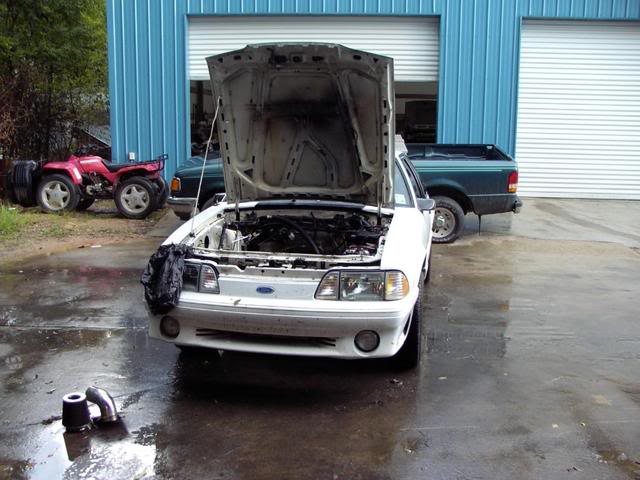
A few more of the motor… and a shot of the motor in the chassis just for checking clearances etc. I’ll be pulling it back out for engine bay painting….
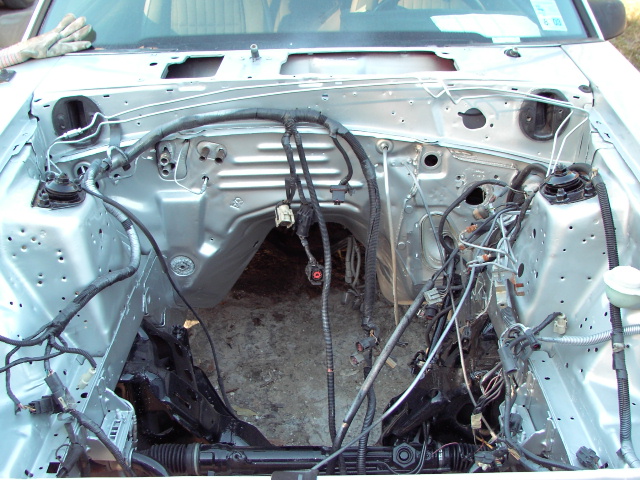
A couple of shots of the engine bay after painting….
Things are pretty much the same…two years now and the engine is still sitting on the stand….just too busy with customer stuff.
I get guys come in all the time…”when is your Mustang gonna be running?” These are the SAME guys that are here to see when THEIR project will be ready…..all I can tell them is “you are here wanting to see how YOUR car is doing….now what would you think if you drove up and I was working on MY car?” All they can say is “oh yea”. Hopefully one day soon I’ll get around to it!!!!!!!!
Well, the Silver Fox is still sitting torn down…..I’m chomping at the bit to play with SOMETHING, so I recently acquired another fox body….a white 91 model. Since this is a running/driving car in decent shape, I can get it going pretty quick with my turbo stuff…..

Here the engine has been removed from the white fox…
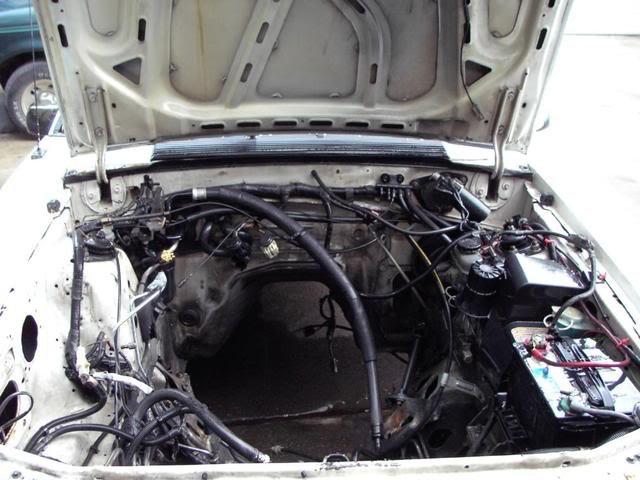
Getting ready to pressure wash the nasty engine bay….
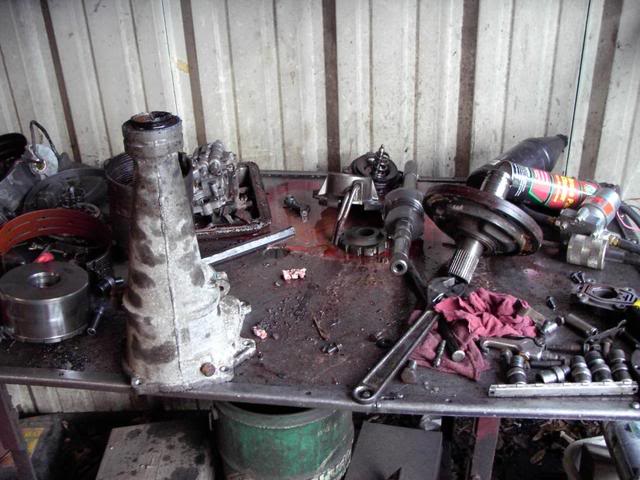
C4 Trans on the tear down bench….nasty C4…nasty!
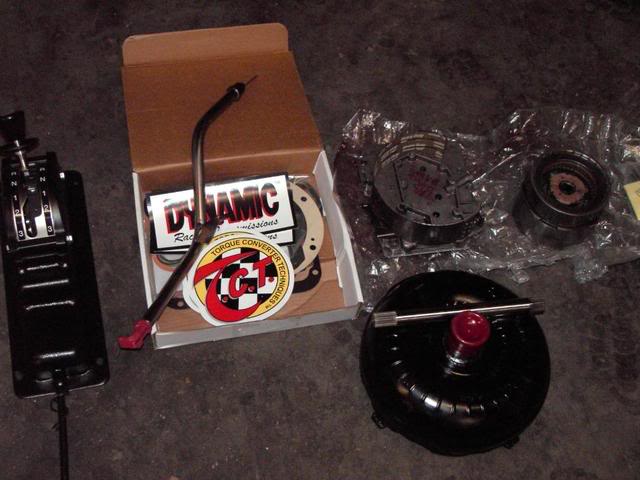
Converter, manual VB, hardened input shaft, HD drums, and shifter from Dynamic Racing Transmission…..

Getting ready to go in….

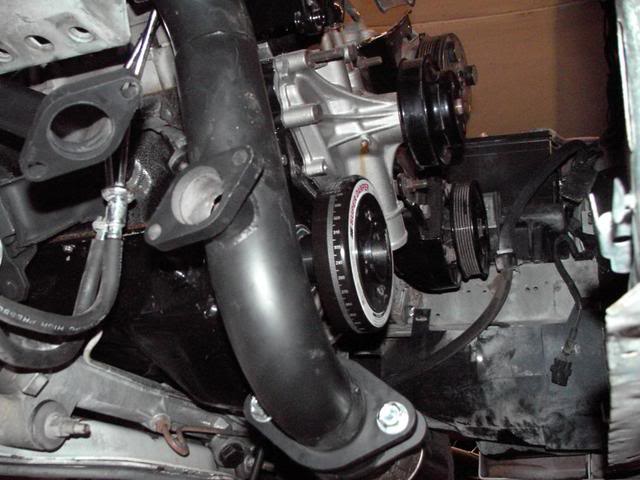

A few shots of the engine/turbo install….
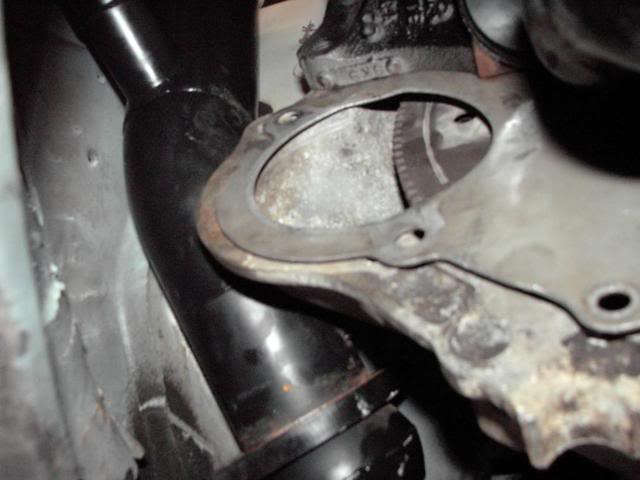
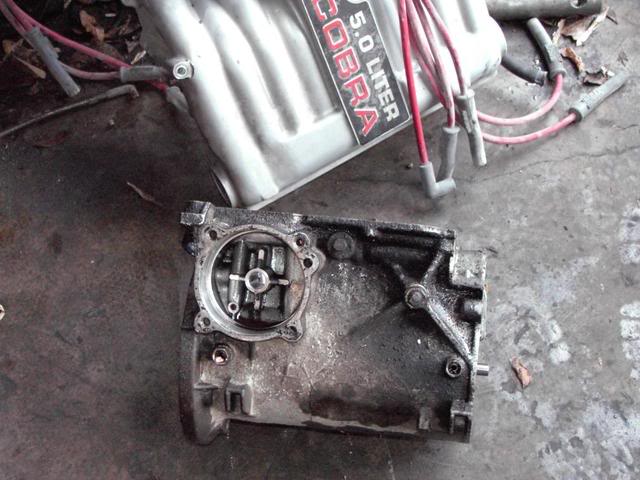
As the trans was going in I ran into a problem. There are two different bell housing sizes on the C4 trans…..I wound up with the big bell, and needing a small bell housing….after rounding up a bell housing, I can continue……
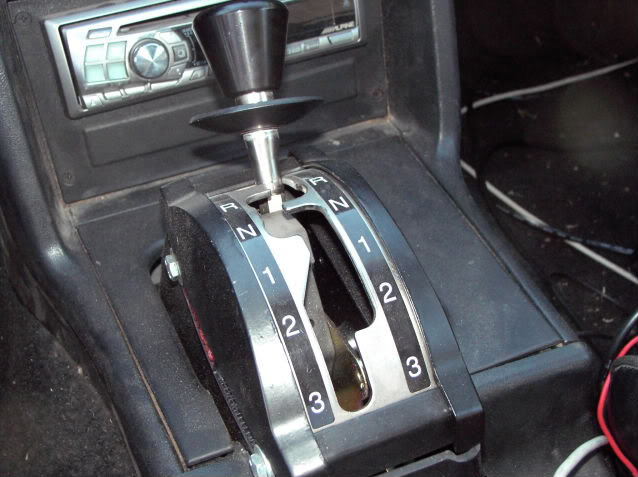
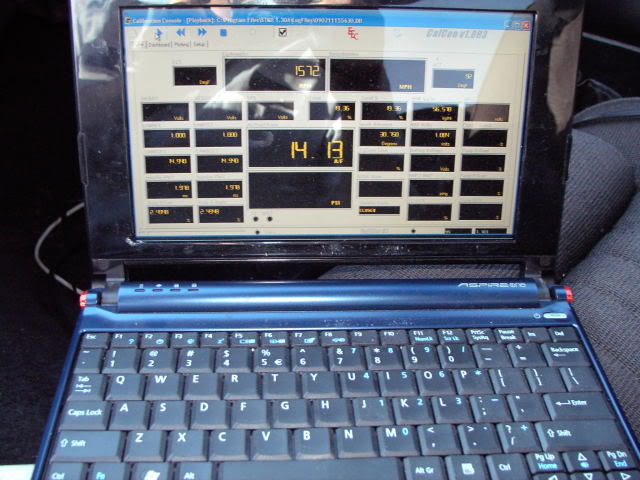
Shifter Installed…. I use the TwEECeR for tuning.